
Many of you use a smartphone or a school-owned iPad to take pictures of things going on in your classes. You also know how important it is to have backups of your photos and videos. It’s also great to have your photos and videos available to the many apps that are a part of the Google Chrome environment.
Here is a tutorial on how to set your iPhone or iPad to automatically back up your photos and videos to your Google Drive. These instructions are very similar for an Android smartphone or tablet.
1. First, download the new Google Photos app on your device from the App Store.


2. Next, sign in to your Google account.

3. Now be sure that the Back up & sync feature is turned on.

4. Next, decide if you want the app to upload the photos at their full size or a reduced size. Your school account has unlimited storage space; your personal account has a limit of 15GB of space.

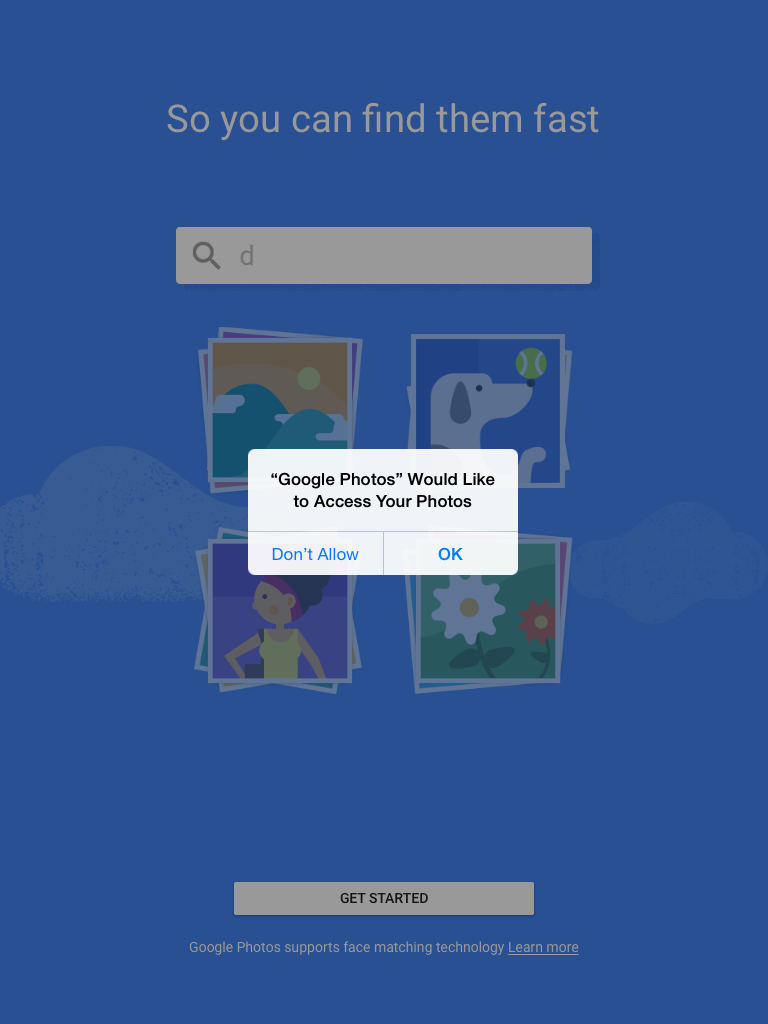
5. Accept (or decline) the permissions.
6. VERY IMPORTANT! – Make sure that, if you are setting up a smartphone to backup and sync, you tell the device only to do this when you are connected to Wi-Fi. Make sure the switches at the bottom are both in the off position for use of cellular data. If you perform this backup and sync over cellular data, it will consume your allotted monthly amount rapidly. Go to the Back up & sync settings menu to check this.

7. All the photos and videos on your device should now start to upload to your account. This will happen only when you are connected to Wi-Fi and it may take a while if you have lots of photos and videos on your phone or iPad. Once this happens, you can go to your Google Drive, and select Photos on the left side to see or work with them.

